


I have a problem . . .
A big, delicious (first world) problem . . .
If you follow along with me on Instagram what I am about to tell you will come as no great surprise . . .
I can’t stop eating allllll of the nut butters!
Well, that’s not entirely true, I probably could stop if I really wanted to but . . . I really, really don’t. Not even a little bit.
Peanut, hazelnut, almond . . . my love knows no bounds, it’s all good ♥♥♥
It’s the perfect, anytime snack.
Serve it with some cold crisp gala apple slices as a mid-morning snack, put a big ol’ spoonful in your afternoon smoothie, eat it straight up, by the spoonful direct from the jar or, as a cheeky little after-dinner treat with a deliciously indulgent chunk of dark chocolate, it’s seriously the best!
Safe to say I can’t stop, won’t stop with the snack, snack, snacking.
Which brings me to today’s “recipe”
I figure if I’m going to be eating my body weight in nut butter I might as well try to make some of my very own, right?
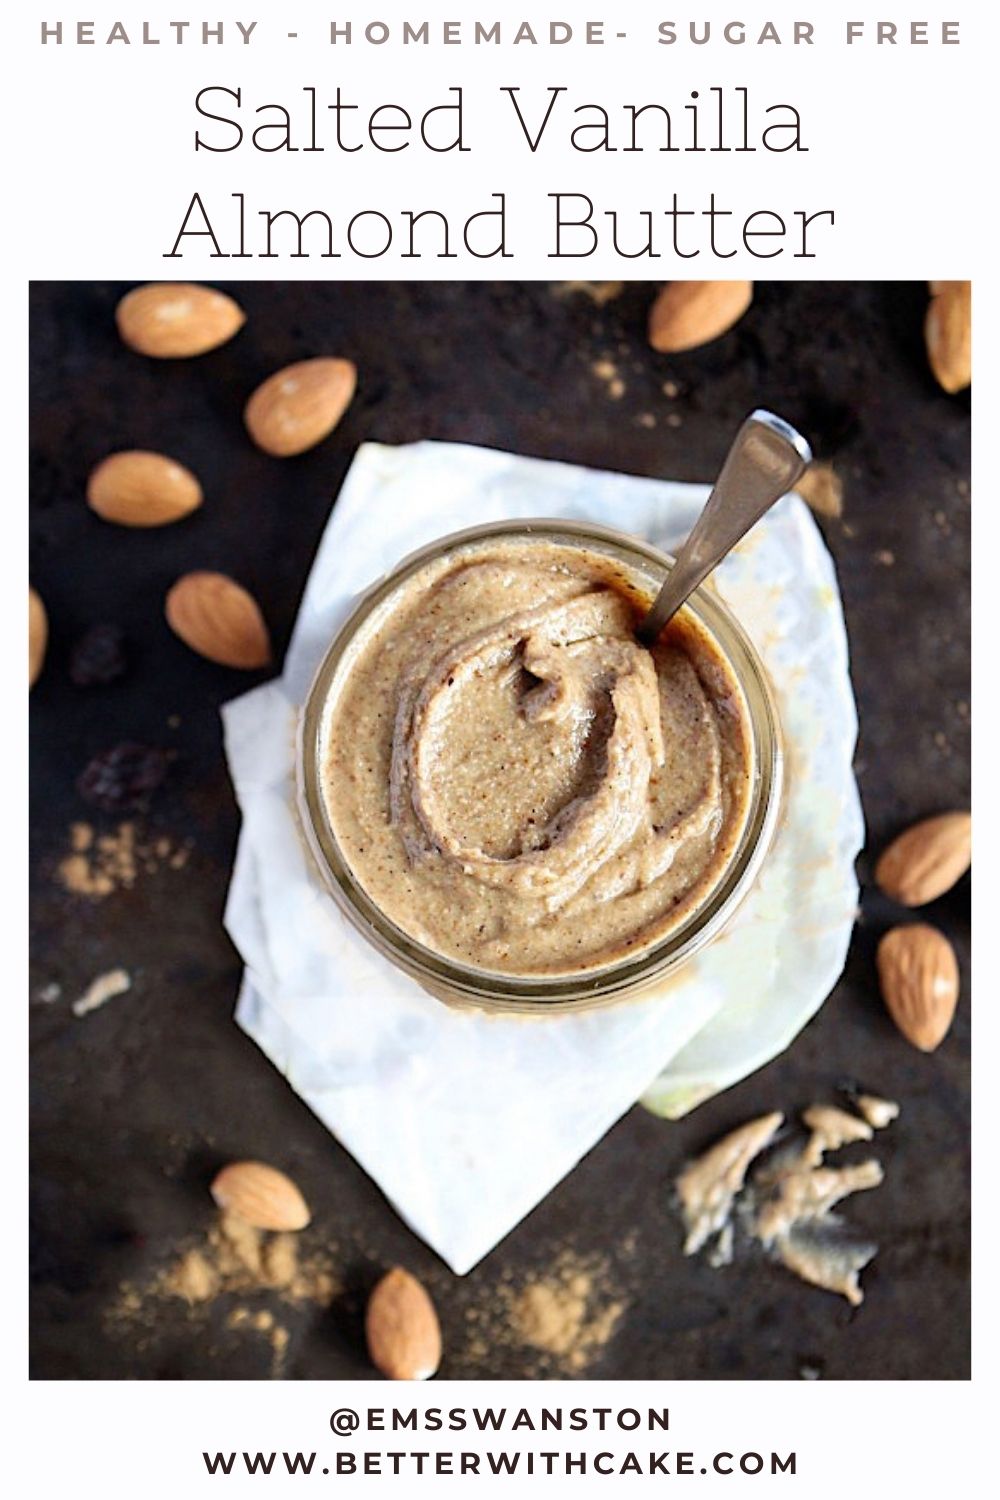
Simple, healthy, homemade salted vanilla almond butter FTW!
FYI – I am so, SO excited about this it’s not even funny!!!!!!!!!!! My kinda DIY!
First up I can not believe how easy it is to make. Just 3 ingredients and 10 mins in the blender and boomshakalocka = done!
Secondly, oh my deliciousness,
The taste, the smell . . . just you wait!
And thirdly – It’s totally customizable.
You want super smooth, extra creamy almond butter – just blend, blend, blend for a few extra minutes and you have yourself some all-natural, extra creamy, velvety smooth almond butter, just the way you like it – Easy!
Want extra chunky almond butter?! No problem, just pulse those almonds for a second or two, then take a couple of Tablespoons of those extra chunky. crispy, crunchy almond pieces out and set them aside while you blend, blend, blend. Then, once you have blended to your desired consistency, stir through those chunky monkeys and there you have it – healthy, homemade, extra chunky almond butter for the win!
So here’s what we’re gonna do –
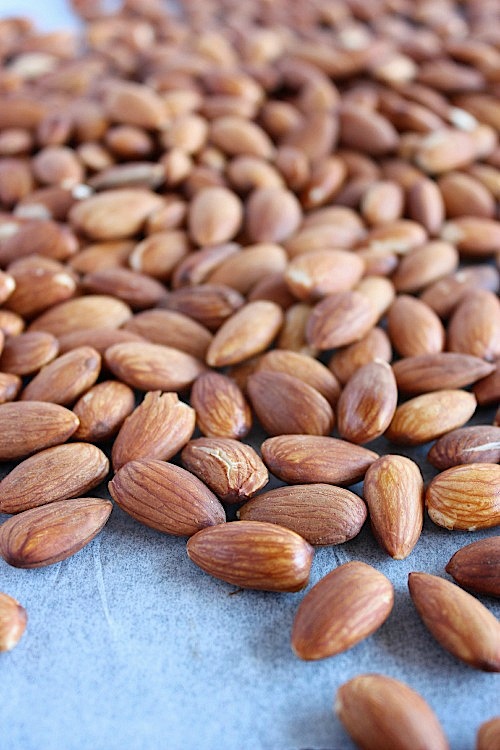
We start off by giving our golden, delicious, nutrient-rich almonds a quick little toastin’ in the oven – toasting your almonds before blending helps to give your nut butter an incredibly rich and totally decadent depth of flavour – don’t skip this step, 5-10 minutes will make the world of difference to the flavour of your almond butter, trust me – it’s absolutely, 100% worth the few extra minutes. Just trust me ok?!
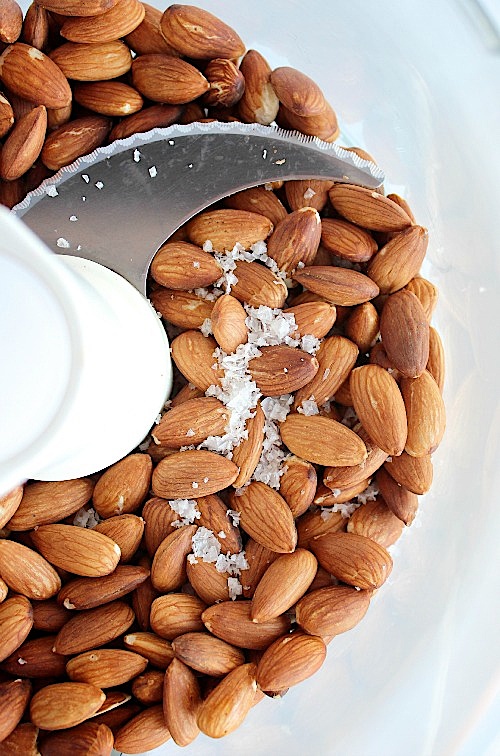
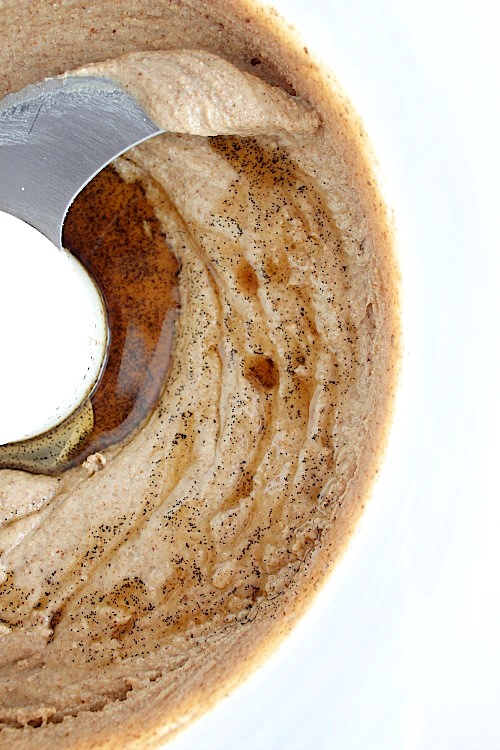
Now, once our almonds are nicely toasted, and your house smells like heaven, all you have to do it pop them into your food processor or blender, add a cheeky pinch of salt and a splash of vanilla then give them a good ol’ whizzaroo and boomshakalocka – done.
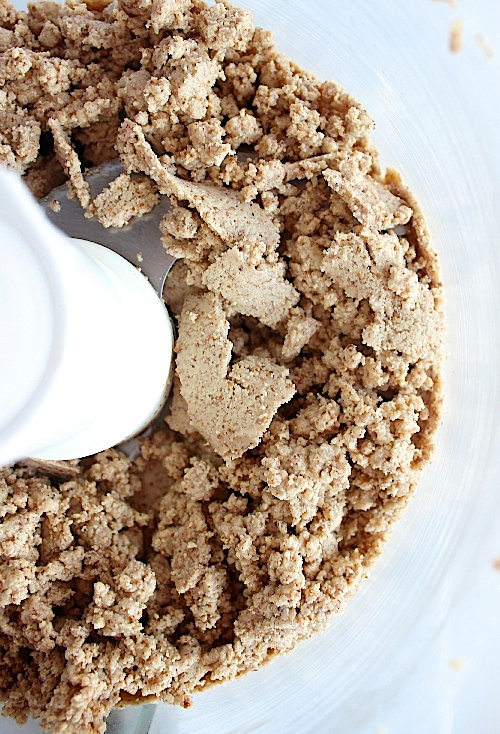
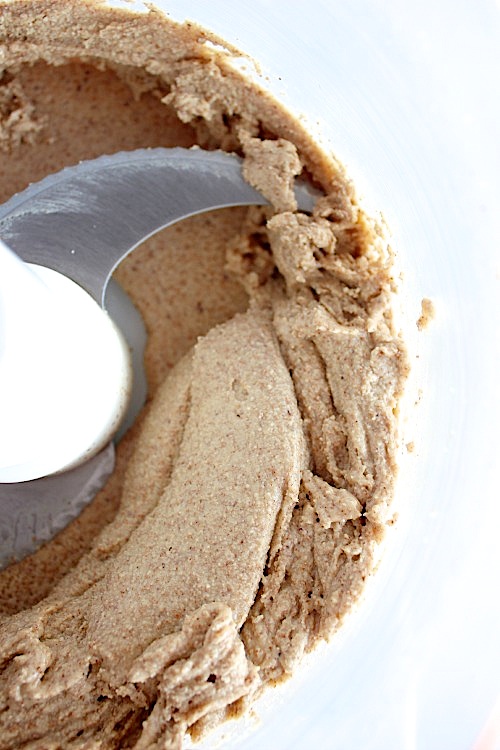
Initially, your almonds will get all chunky, then after a minute or two they will break down into a fine looking flour,
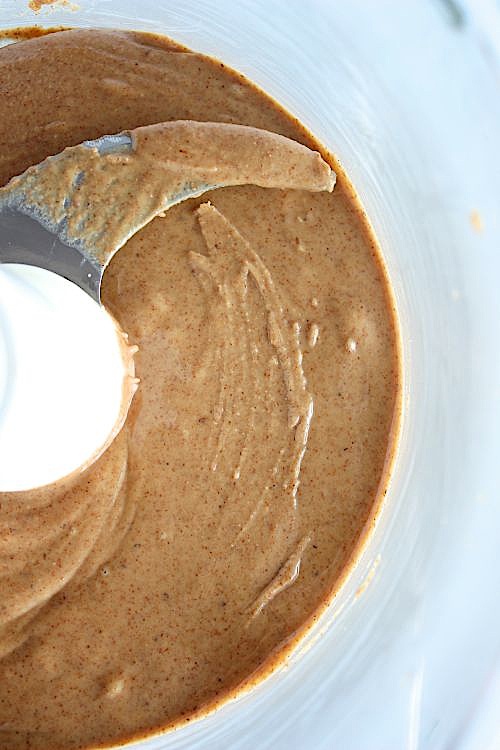
then the real magic happens, the heat and friction from all that blending will extract the natural oils from our almonds and in mere minutes, you will witness one of the most beautiful transformations of all time as your roasted almonds are whipped into a smooth and creamy, deliciously dreamy nut butter right before your pretty little eyes . . .
Now, depending on the kind of blender or food processor you have (and how smooth you like your nut butter to be) this can take anywhere between 5-15 mins.
For me and my magnificent magimix it took about 15 mins and that included stopping to snap a few pics along the way.
Once it’s your nut butter is ready it will be a little warm and slightly runny from all the blending you may be tempted to grab a straw and suck up that deliciousness straight from the bowl but try to resist the urge, or at least show a little restraint and just have a small sip or two because once it cools, those natural oils will start to solidify and it will firm up into that thick and creamy consistency we all know and love.
Something else I have noticed about my homemade almond butter is that it doesn’t seem to split?! You know that pesky oily pool of separation that occurs with most nut butters . . . I’m not exactly sure why it is that my homemade nut butters don’t seem to do that but, I do know that I am totally ok with it. No need to bother with all that pre-consumption stirring just grab a spoon and dive on in!
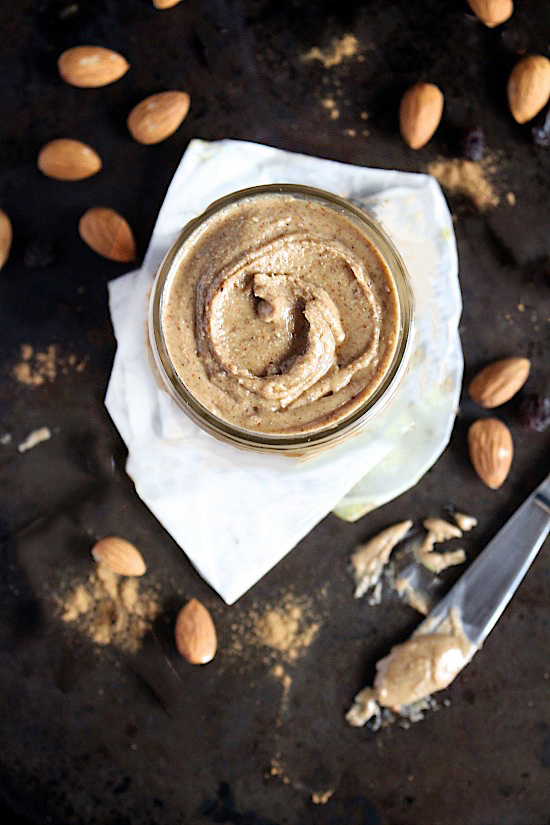
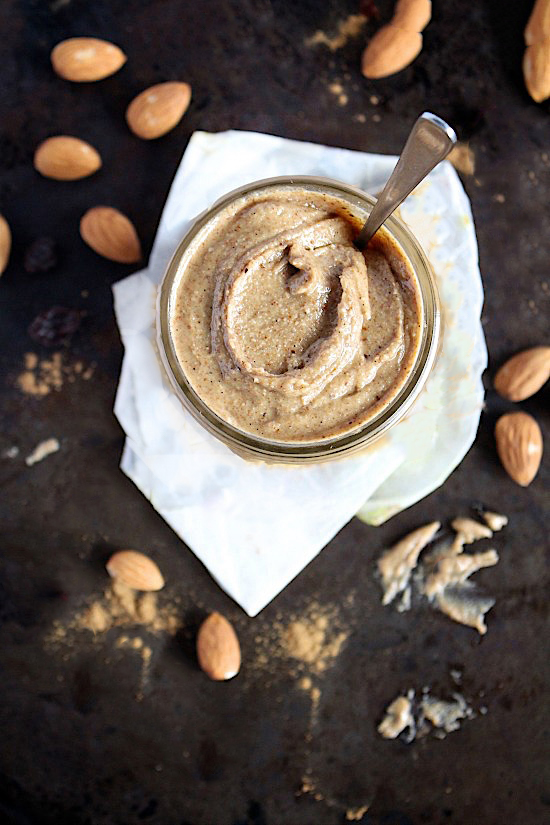
Creamy, dreamy toasted almonds blended with a cheeky pinch of salt and a subtly sweet hum of vanilla . . . tastes like heaven!
Thick, rich, smooth, creamy and simply divine!!!!!
Feel free to go ahead and use it as you would, business as usual – dive headfirst into the jar and eat your way out . . . or you be a little more refined and get yourself a spoon, do what you feel, no judgement here!
Now I’m not saying that you should, ( ← except I totally, sorta, kinda am) . . . grab yourself a block chunk of dark chocolate and add a generous spoonful of your freshly made, vanilla spiked almond butter . . .
Finish with an extra cheeky pinch of salt and have yourself a little bite of heaven . . .
Life as you know it will never be changed, forever!
All natural, quick and easy, 3 ingredient, healthy, homemade, salted vanilla almond butter . . .
Gluten Free – Dairy Free – Grain Free – Sugar free – Low Carb – Paleo – Keto – 100% Vegan friendly but most importantly it really is a little jar of heaven right here on earth and you need it in your life because, yum!
Super simple, insanely delicious and I hope you love it as much as I do which just in case you didn’t catch it, is A LOT!!
Click here for some step-by-step pics & to cook along with me ♥
From my heart to yours, Enjoy xo
Healthy, Homemade Vanilla Almond Butter
- Cook Time: 7 mins
- Persons: 16+
- Difficulty: Easy
- Ingredients
- 2 C raw almonds
- 1 Tbsp vanilla
- 1/2 tsp salt
- 1/2-1 tsp pumpkin spice (or reg cinnamon)
- Instructions
- Preheat your oven to 175’C (350’F)
- Line a large baking sheet with baking/parchment paper (or a non stick silpat mat) and pour your almonds on, making sure they are spread evenly – aka not crowded.
- Roast your almonds for 10 mins, until lightly roasted and slightly golden.
- Pour your roasted almonds into the bowl of your food processor or blender, add salt and process until smooth and creamy (or your desired consistency). Initially the almonds would grind down into a powder, give it a minute or two and the oils will extract and it will become deliciously, thick, rich and creamy. You may need to stop and scrap down the sides of the bowl occasionally.
- Once you have blended to your desired consistency, add your vanilla then process again just to combine.
- Taste and adjust seasoning accordingly – add a little extra salt or more vanilla if you feel the need.
- Store in an airtight container in the fridge. It should keep well for up to 2 weeks – if it lasts that long! (← seriously, good luck with that )
- Enjoy xo
_________________________________________
Question of the day –
Are you a fellow nut butter addict? What’s your fave flavour? Or brand? Or recipe? And your fave way to eat it?! Straight up by the spoonful, with fruit, on toast, on chocolate?! Tell me . . . details please
Feel free to share recipes, or links to your fave recipes in the comments below, on Instagram or the Facebook page and please, please, please for the love of all that is good in this world when you do make your life changing healthy, homemade, salted vanilla almond butter (or any of the recipes you find on this blog of mine) go ahead and snap a pic and share it either on the Facebook page, or tag me Instagram. Sharing is caring remember and nothing makes my heart as happy as seeing you re-create and enjoy my recipe.
Do it, do it You know you want to xo
_________________________________________


