For my birthday this year I was fortunate enough to receive The pioneer woman’s cookbook. My sister spoils me, she’s the best 🙂 (for many reasons I should add, not just because she gave me such a cherished and dearly loved birthday gift).
This book has so many wonderful recipes…..seriously…I have a HUGE “to-do” list from this one cookbook alone. However, one of the first I just had to try was “The Best Chocolate Sheet Cake.Ever” . With a title like that how could I not start there??
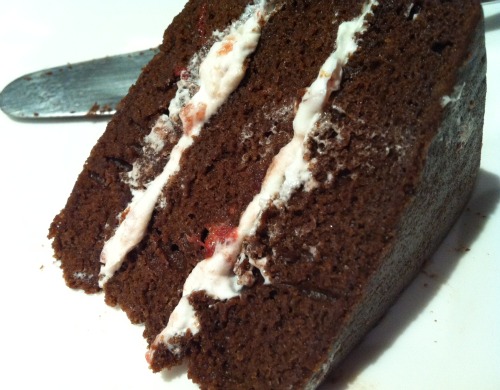
This cake is deliciously moist, with such a subtle flavour and it’s just perfectly sweet. It’s such a comforting combination of flavours…perfectly balanced….. you really can’t go wrong. Nor should you go another day without having some for yourself.
I discovered in the initial baking of this wonderful cake that I do not own a sheet cake pan (seriously … shocking I know)! Therefore…my version is a layer cake instead of a sheet cake…..not a huge deal right? Technically its still a sheet cake just in layer form??
If you would like to see the original recipe click here . The recipes the pioneer woman has shared are beyond wonderful. They are what delicious dreams are made of, you really need to take a look.
I have modified the recipe just slightly and also added a simple coffee infused sugar syrup to brush over each of the layers (That recipe will be included below should you want to do the same don’t you worry :)).
Here is my (modified) version of the Pioneer Woman’s “The Best Chocolate Sheet Cake.Ever”.
For the Cake –
Ingredients –
(serves 8-12…depending how big you like your slice ;))
1/2 cup white sugar
1/2 cup brown sugar
1 3/4 cups plain flour
1/4 tsp salt
3/4 cup buttermilk (I made my own)
1 egg
2 egg whites
1 tsp vanilla
1/4 cup butter
1 cup water, boiling
3/4 cup apple sauce/puree
1 tsp baking soda
1/4 cup cocoa
4 Tbsp (heaping) cocoa powder
For the coffee sugar syrup –
1/4 cup sugar
1/4 cup water
1/4 cup espresso (i made a double shot and it was the perfect amount)
Method –
Preheat oven to 175’C (350’F)
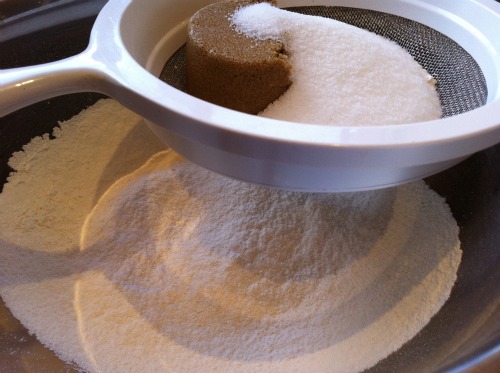
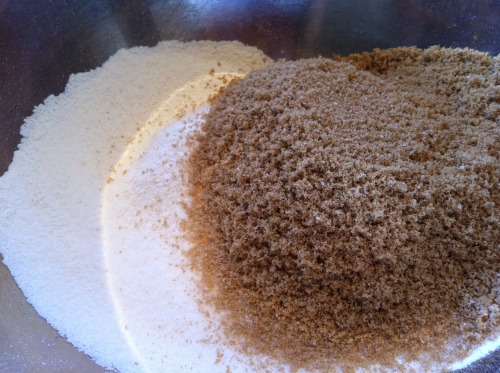
In a large bowl sift flour, sugars and salt
Stir to combine.
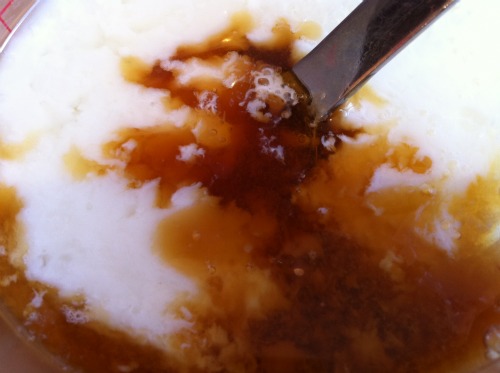
In a separate bowl add your buttermilk (I always make my own, its so easy)
Add vanilla,
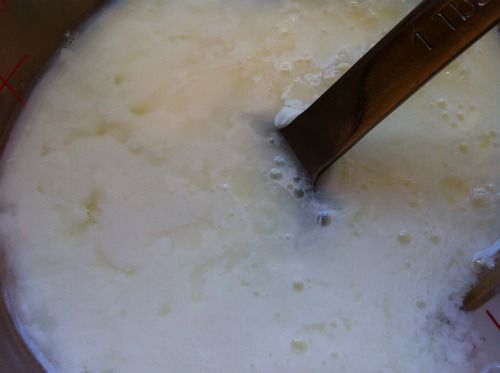
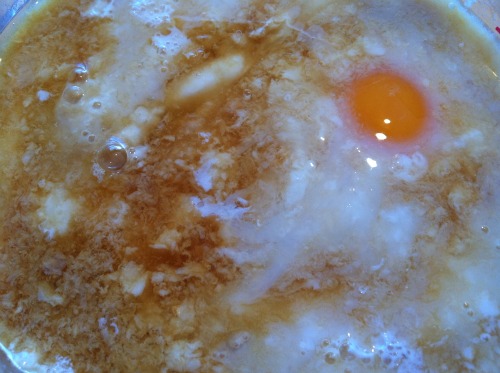
then add egg, egg whites and baking soda and whisk it with a fork. I should warn you it will foam a little and look a little…..
….funky but no cause for alarm…its just the baking soda working its magic with the other ingredients. Once you have whisked it set it aside and like I said don’t worry your pretty little self about this strange looking buttermilk, soda mix…all is right with the world I promise 🙂
In a small saucepan over medium high heat bring your water to the boil
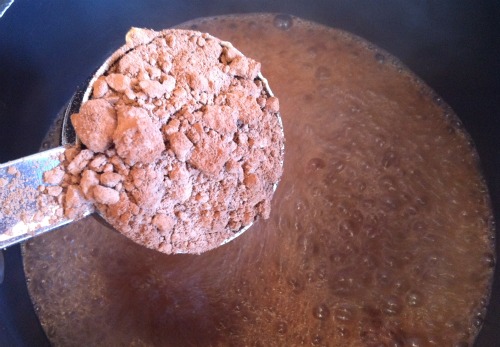
Then add the 1/4 cup of cocoa powder
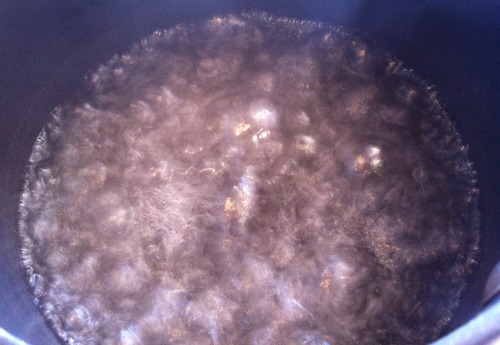
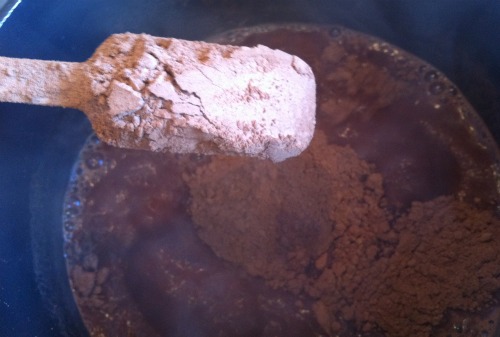
followed by the heaping tablespoons of cocoa powder, allow it to bubble gloriously for a few seconds to melt and combine before removing from the heat.
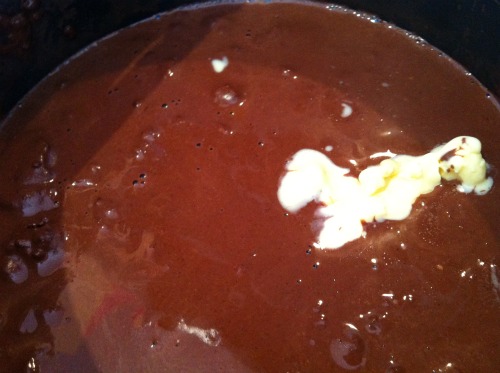
Next add butter
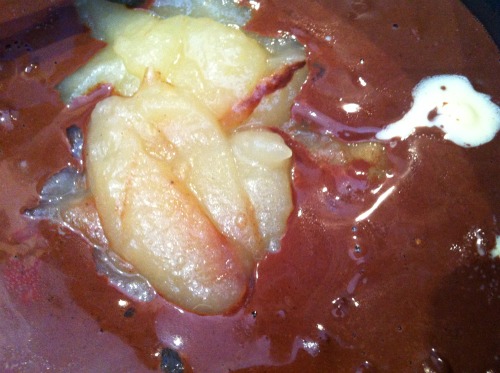
and apple sauce and stir to combine.
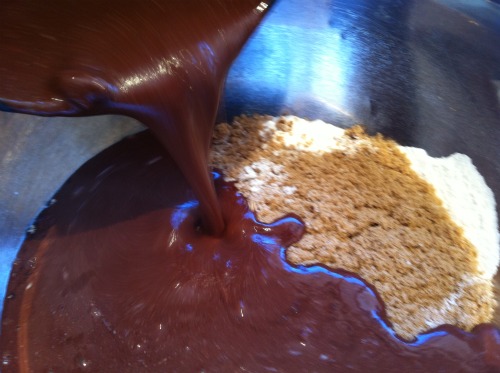
Pour the glorious chocolate lava over the flour and sugar mix.
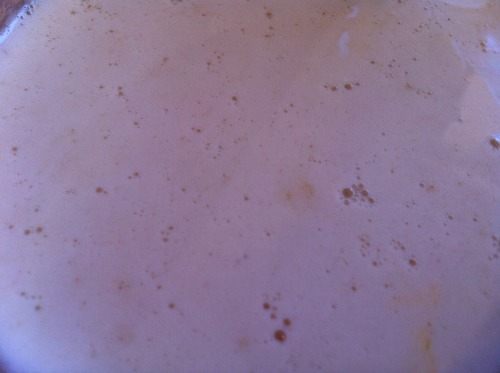
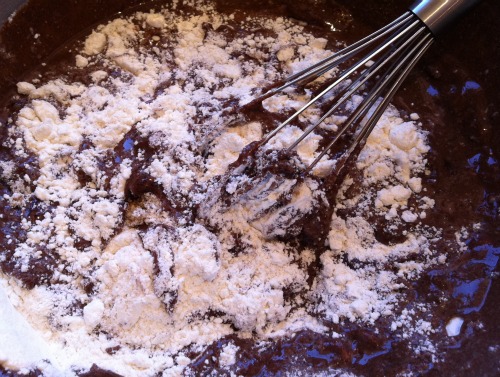
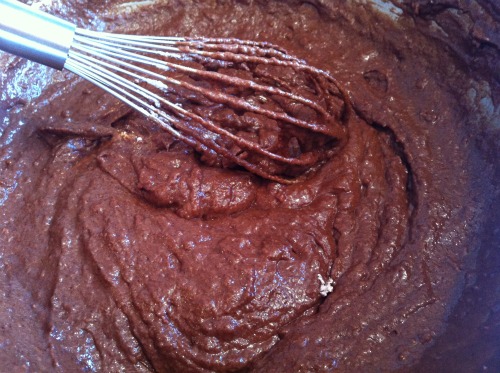
Stir to combine and allow to cool slightly
It will look a little lumpy at this stage, just go with it… its all part of the plan my friend, all part of the plan 🙂
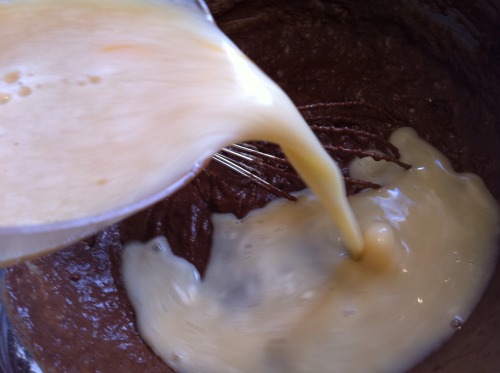
Pour your egg, buttermilk mix over the chocolate batter and carefully stir until well combined and smooth.
Pour into your prepared cake pan/s and bake for 15 mins (if using several pans and making a layer cake) or 20 mins if your fortunate enough to own a sheet cake pan.
While your cake is baking prepare your sugar syrup.
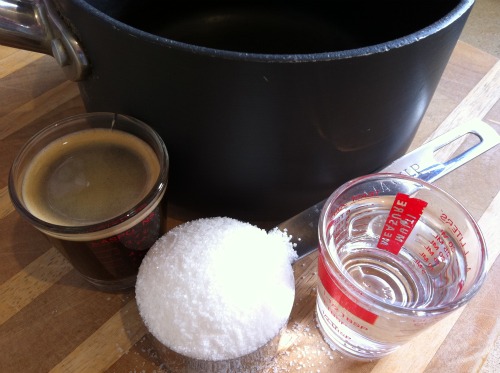
In a small saucepan over medium heat, combine sugar, espresso and water. Stir occasionally until sugar is dissolved.
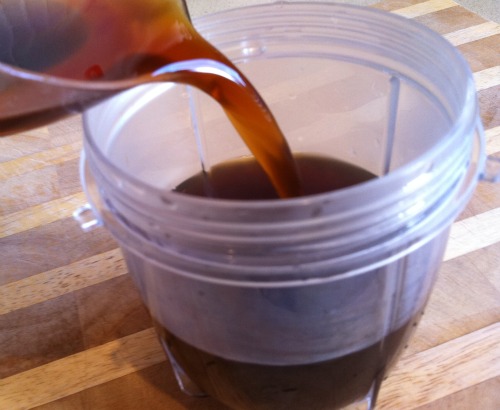
Remove from the heat and set aside to cool to room temperature (ish).
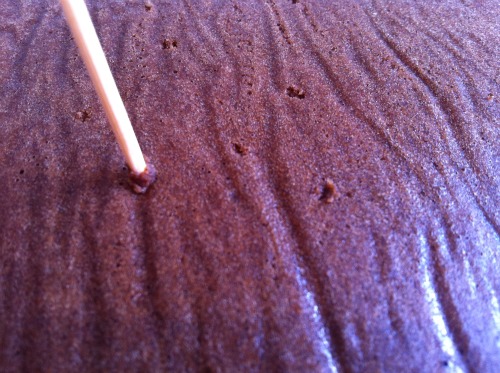
Once your cake has cooled slightly using a toothpick or any other suitable weapon kitchen utensil, poke a few holes in the surface or your cake….not to many, just enough to allow the sweet syrup to sink right into your delicious cake.
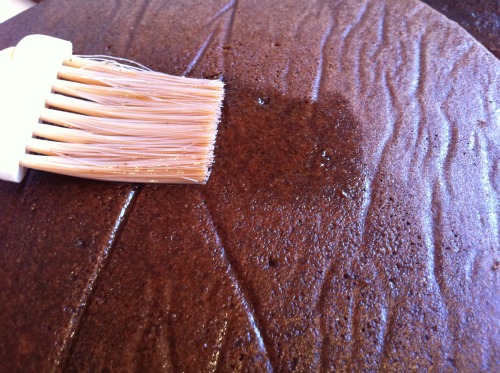
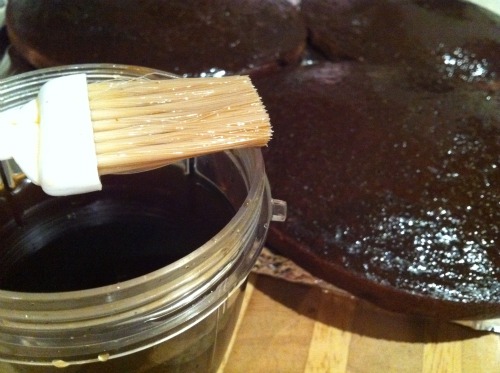
using a pasty brush gently paint the sweet syrup over the cake….
….the entire surface of your cake.
Now for the really hard part…..you need to leave your cake to cool completely and really soak in the syrup. If like me you struggle with patience, especially when there is cake involved you can speed this process up by putting the cake in the fridge (or even the freezer if your in a real hurry) for oh about 30 mins should do it 😉
Now for the really fun part….assembly time…
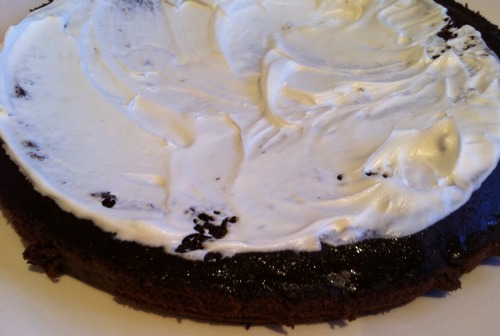
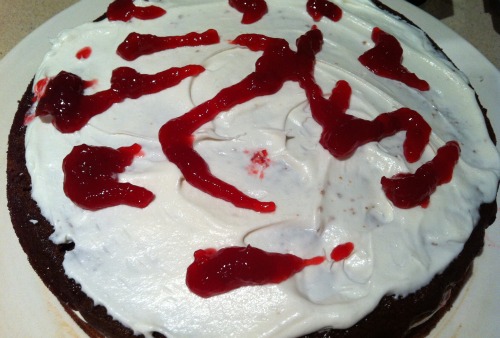
Place one layer of your cake onto a serving plate and top with cream (or dream whip)
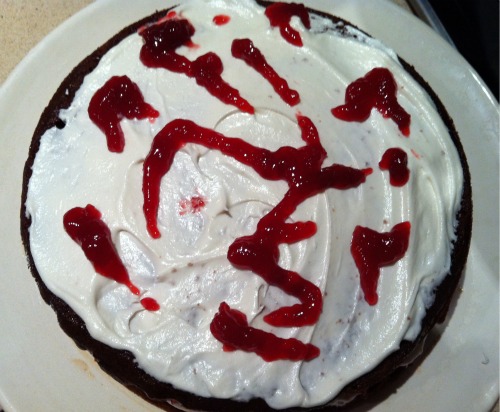
Then if you want to you can drizzle some jam (I used some of this amazing cherry sauce I had left over from making mini cheesecakes)…
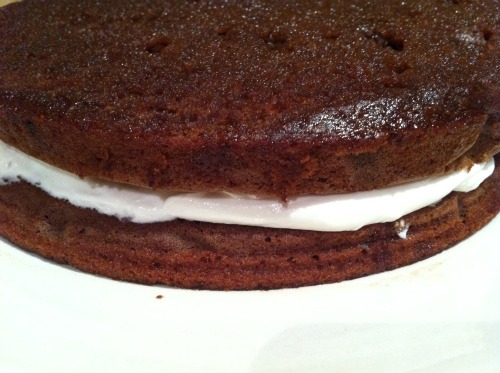
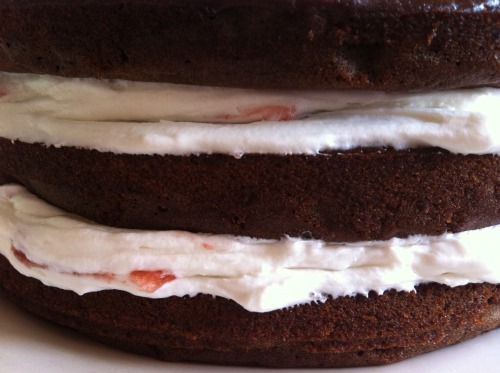
Then repeat with remaining layers
…..and now for the moment we have all been waiting for….
YUM!!!
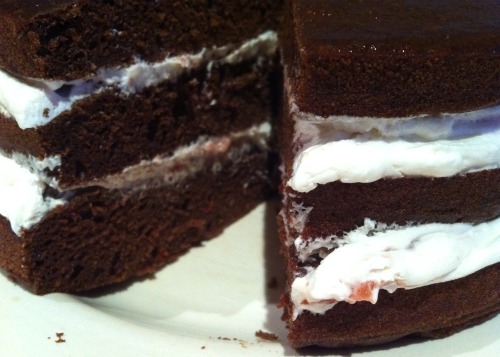
and now for the moment of truth…..its time to cut the first slice…
I like to make sure I get some of each layer in every bite….
ahh its the little things…..:)
____________________________________________________________________________________________
Here is a more printable version of the recipe –
For the Cake –
Ingredients –
(serves 8-12…depending how big you like your slice ;))
1/2 cup white sugar
1/2 cup brown sugar
1 3/4 cups plain flour
1/4 tsp salt
3/4 cup buttermilk (I made my own)
1 egg
2 egg whites
1 tsp vanilla
1/4 cup butter
1 cup water, boiling
3/4 cup apple sauce/puree
1 tsp baking soda
1/4 cup cocoa
4 Tbsp (heaping) cocoa powder
For the coffee sugar syrup –
1/4 cup sugar
1/4 cup water
1/4 cup espresso (i made a double shot and it was the perfect amount)
Method –
Preheat oven to 175’C (350’F)
In a large bowl sift flour, sugars and salt
Stir to combine.
In a separate bowl add your buttermilk (I always make my own, its so easy)
Add vanilla,
then add egg, egg whites and baking soda and whisk it with a fork.
In a small saucepan over medium high heat bring your water to the boil
Then add the 1/4 cup of cocoa powder followed by the heaping tablespoons of cocoa powder, allow it to bubble gloriously for a few seconds to melt and combine before removing from the heat.
Next add butter and apple sauce and stir to combine.
Pour the glorious chocolate lava over the flour and sugar mix.
Stir to combine and allow to cool slightly
Pour your egg, buttermilk mix over the chocolate batter and carefully stir until well combined and smooth.
Pour into your prepared cake pan/s and bake for 15 mins- or 20 mins until just a few moist crumbs remain when a toothpick is inserted into the centre.
While your cake is baking prepare your sugar syrup.
In a small saucepan over medium heat, combine sugar, espresso and water. Stir occasionally until sugar is dissolved.
Remove from the heat and set aside to cool to room temperature (ish).
Once your cake has cooled slightly using a toothpick or any other suitable weapon kitchen utensil, poke a few holes in the surface or your cake….not to many, just enough to allow the sweet syrup to sink right into your delicious cake.
using a pasty brush gently paint the sweet syrup over the entire surface of your cake.
Now you need to leave your cake to cool completely and really soak in the syrup. ….assembly time…
Place one layer of your cake onto a serving plate and top with cream (or dream whip)
Then if you want to you can drizzle some jam (I used some of this amazing cherry sauce I had left over from making mini cheesecakes)…
Then repeat with remaining layers.
Now comes the best part…..time to eat 🙂
____________________________________________________________________________________________
Nutritional Info (approx per slice) obtained using fatsecret.com –
Cal – 166
Fat – 1.2
Carbs – 35.8g
Protein – 4.49g








Coffee syrup! You are so clever 🙂